Woodpecker Print: A Step-by-Step Demonstration
 Contributed and written by talented Seattle-based artist and longtime North Cascades Institute Adult Seminar Instructor, Molly Hashimoto.
[Please join North Cascades Institute this April 27th – April 29th for an exciting weekend workshop on Printmaking with Ink and Watercolor with Molly Hashimoto. In addition to exploring the wild landscape around the Environmental Learning Center as a source of inspiration, Molly will lead participants in a discussion about design and the power of black and white contrast. Participants will also learn how to transfer drawings to a block of Safety Kut, carve the blocks, ink them up with both water-soluble and waterproof inks, print them without a press on proof paper and fine printmaking paper, and finally tint them with watercolor. No printmaking experience is required for this fun weekend of art, nature, good food, and community — this workshop can serve as an introduction for the beginner as well as deepen more experienced printmakers’ understanding of this dynamic medium.
Please join North Cascades Institute staff next month for this exciting printmaking workshop with Molly Hashimoto!
Read below as Molly walks participants and readers through a step-by-step process of printmaking beginning with an original conception inspired by the natural world to the finished product, a beautiful block print.]
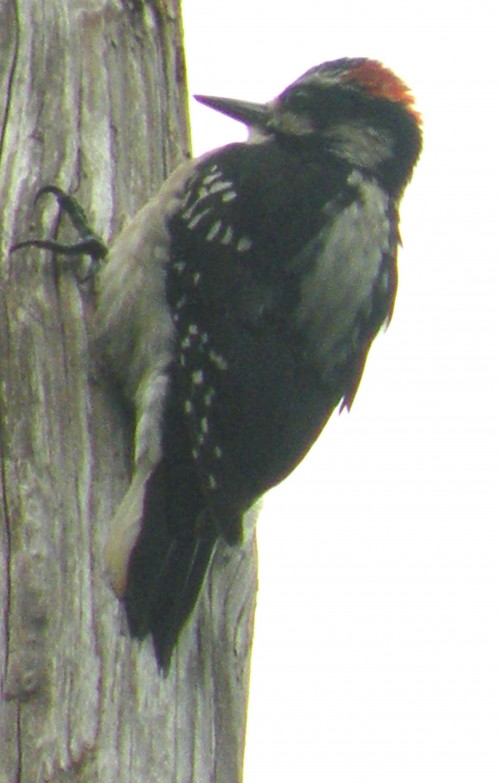
Step 1. Up at the Environmental Learning Center last June I woke up early, decided to get a cup of tea from the dining hall, and take a stroll. Walking on the Peninsula Trail, I heard a tell-tale tap-tap-tap and looked up to see this Hairy Woodpecker on a dead lodgepole pine tree. Always ready with my camera, I put down my teacup and snapped several photos — this gave the best view of the powerful black and white contrast of the bird.
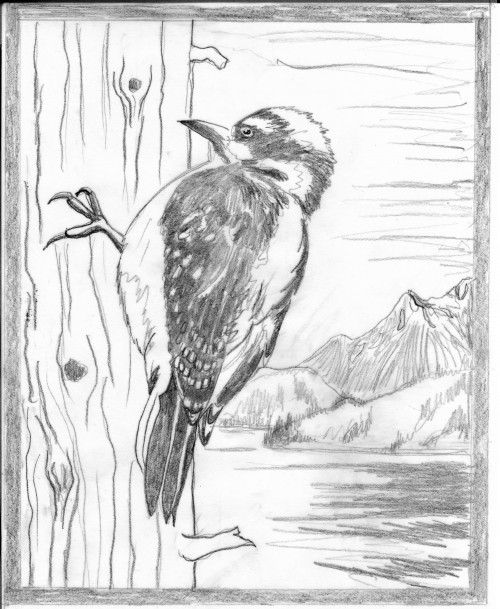
Step 2. I did a drawing using a dark pencil, and added the view of Diablo Lake and the lower slopes of Colonial Peak. I thought the work would be more dramatic if I put the woodpecker in the context of its wider world.
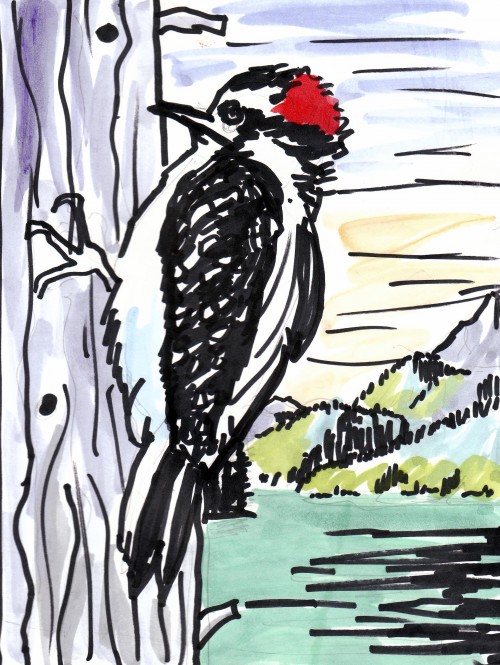
Step 3. Before proceeding any further, I decided to do a color thumbnail using a black marker pen and watercolor on a heavyweight card stock paper, just to try out the color palette.
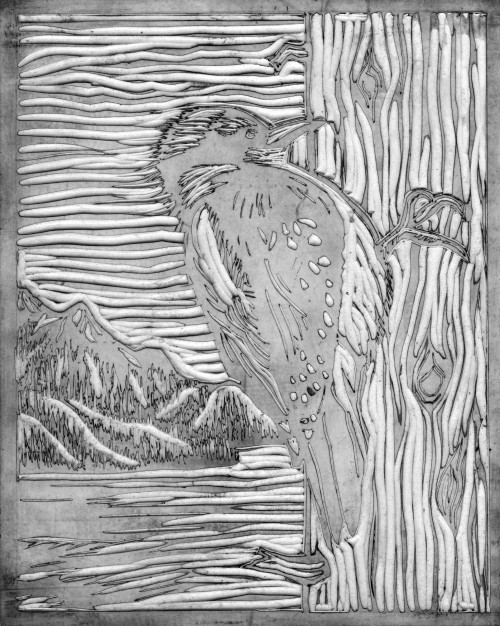
Step 4. I placed the drawing face down on the safety-kut block and rubbed hard to transfer the drawing—notice how it appears on the block as a mirror image. This is important because when the print paper is placed faced down on the carved block and removed, the image will once again appear in its original (non-mirror) state. Every dark area is left uncarved—the white areas are going to show up as either whites or colored areas on the print.
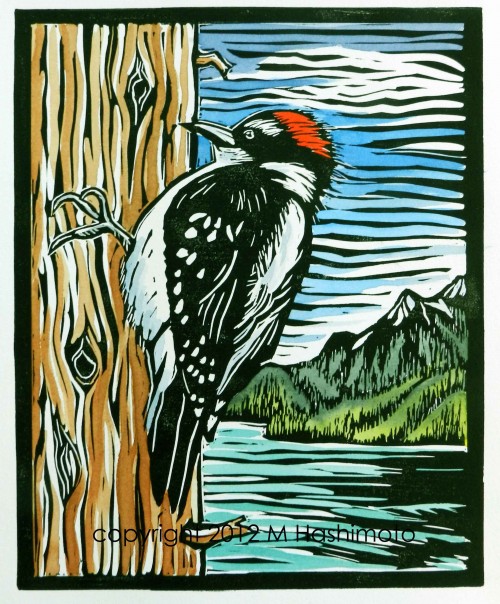
Step 5. I used a black waterproof printmaking ink, giving it several hours to dry completely. Then I used watercolors to tint the bird, tree trunk, sky, mountains, forest and lake, leaving white paper for the striking areas of white on the bird, the clouds, and snow on the peak.
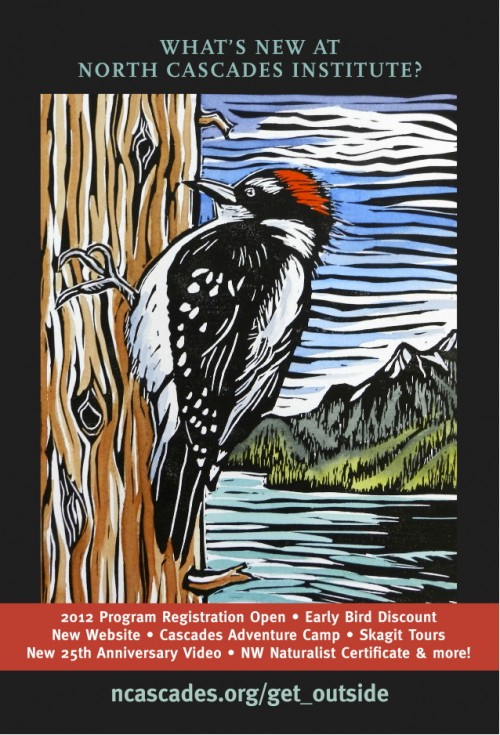
Step 6. Here is the art as it appeared on the Early Bird Registration postcard designed by the talented folks responsible for catalog and media at the North Cascades Institute.
I am really excited about teaching this class at the Institute, as it incorporates all of my favorite artistic pursuits: getting inspired by wild nature, designing strong compositions, carving block prints, and painting with watercolors. I have taught this class before and all the participants had a wonderful time — it was so gratifying to see people take to it so readily!
Also check out a wonderful article highlighting a recent blog interview by Pomegranate Publishers with Molly Hashimoto on her work as an artist!

